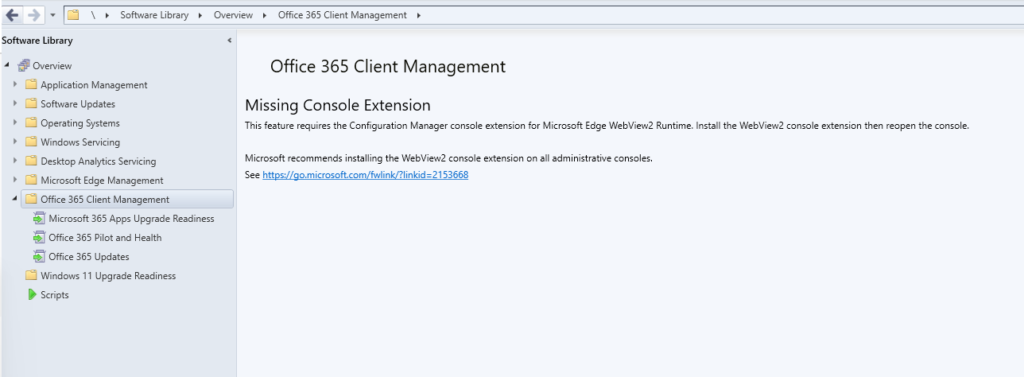
In this article, we will demonstrate how to deploy O365 using SCCM when encountering the issue depicted in the following image. The problem arises when the WebView2 extension is not installed, and adding it becomes impossible due to insufficient privileges.
So the first step is connecting to https://config.office.com/officeSettings .

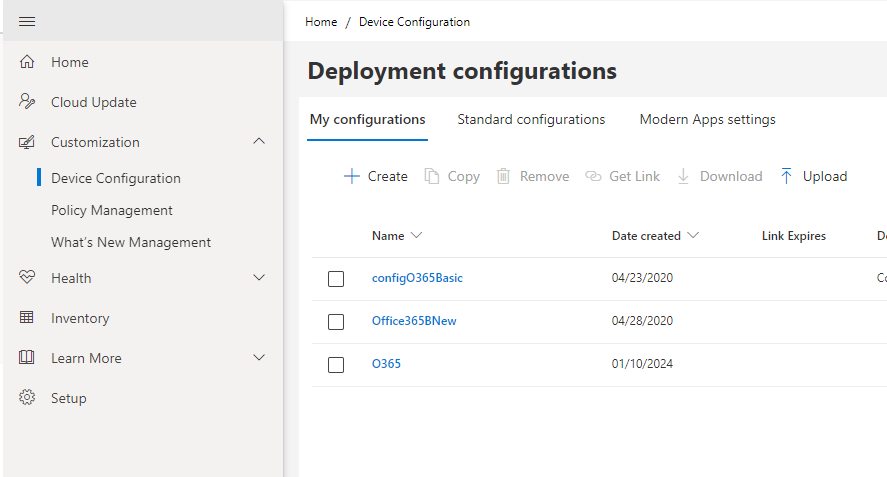
Here we have to click on Customization -> Device Configuration
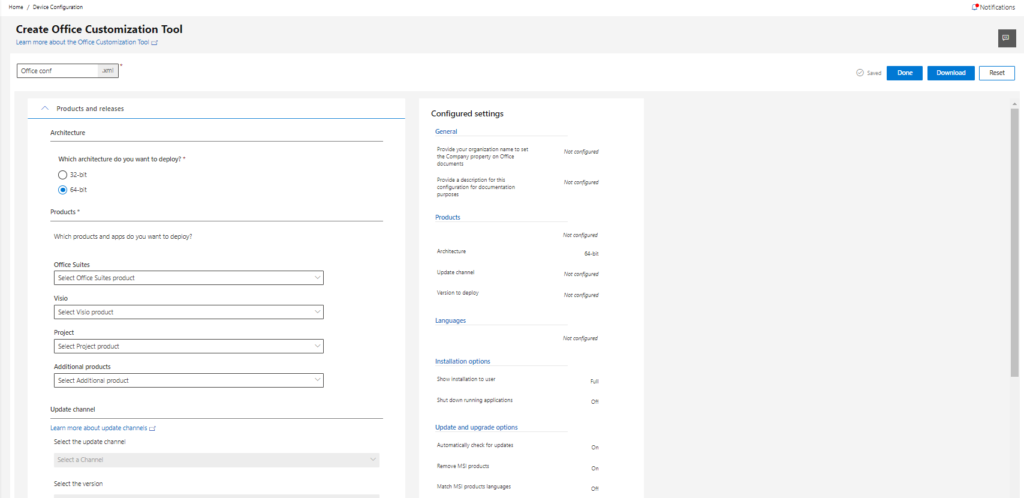
Here we have to Create a new package. We give it a name and we start customizing it as our needs.
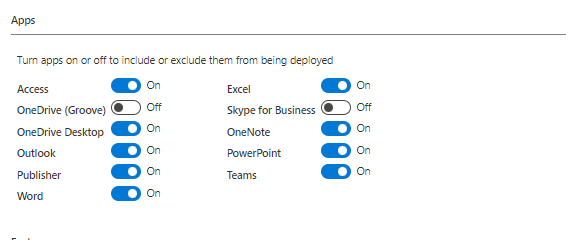
And finally we Save and Download the XML file
After that, we also need to Download the OfficeSetup.exe file, which we can download from any account that has Office License. Then we save it along with the XML configuration file in the same folder.
Then we need to head to SCCM and create a new application in \Software Library\Overview\Application Management\Applications
We name the application whatever we want in the General tab, and then we have to specify where the Content location is.
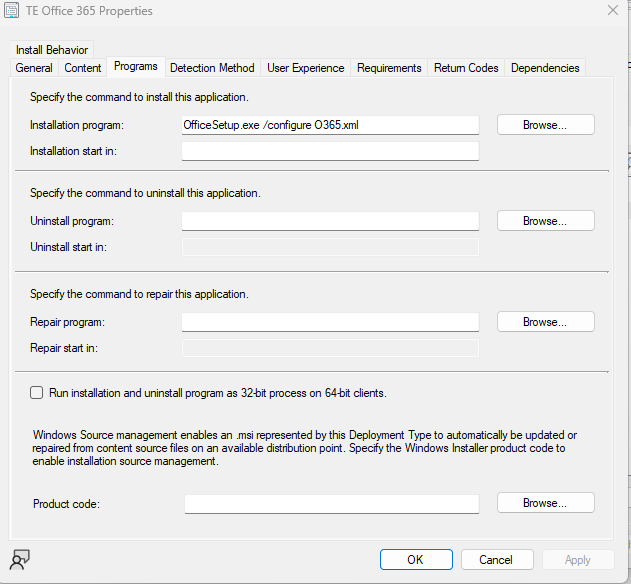
Then in Programs tab, we put in the Installation Program cell OfficeSetup.exe /configure O365.xml so when the office installer is launched, it will use the xml file we created to customize the installation.
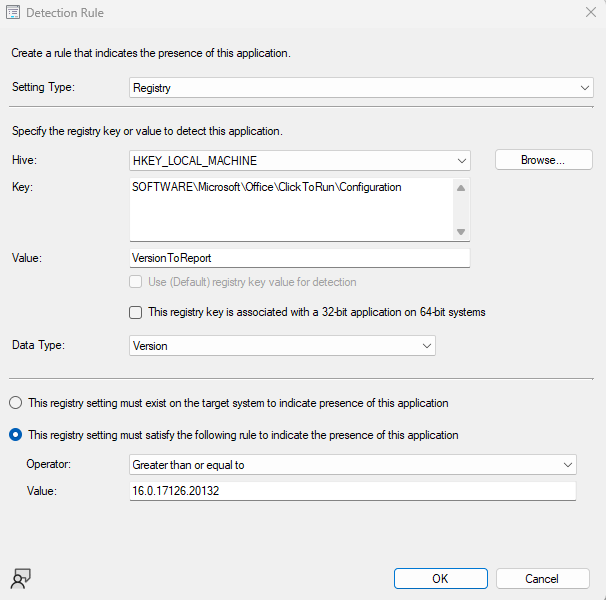
And then, in the Detection Method tab we fill as you can see in the image.The version may differ from your version, but you can see it by searching the registry in you marchine
Then finish the application configuration as you wish and distribute the app with SCCM.